![](https://www.19karen.com.au/wp-content/uploads/2015/09/IMG_4211-250x250.jpg)
![](https://www.19karen.com.au/wp-content/uploads/2015/09/IMG_4378-250x250.jpg)
![](https://www.19karen.com.au/wp-content/uploads/2015/09/IMG_4238-250x250.jpg)
![](https://www.19karen.com.au/wp-content/uploads/2015/09/IMG_4230-250x250.jpg)
![](https://www.19karen.com.au/wp-content/uploads/2015/09/IMG_4212-250x250.jpg)
![](https://www.19karen.com.au/wp-content/uploads/2015/09/IMG_4241-250x250.jpg)
![](https://www.19karen.com.au/wp-content/uploads/2015/09/IMG_4242-250x250.jpg)
![](https://www.19karen.com.au/wp-content/uploads/2015/09/IMG_4308-250x250.jpg)
![](https://www.19karen.com.au/wp-content/uploads/2015/09/IMG_4352-250x250.jpg)
![](https://www.19karen.com.au/wp-content/uploads/2015/09/IMG_4362-250x250.jpg)
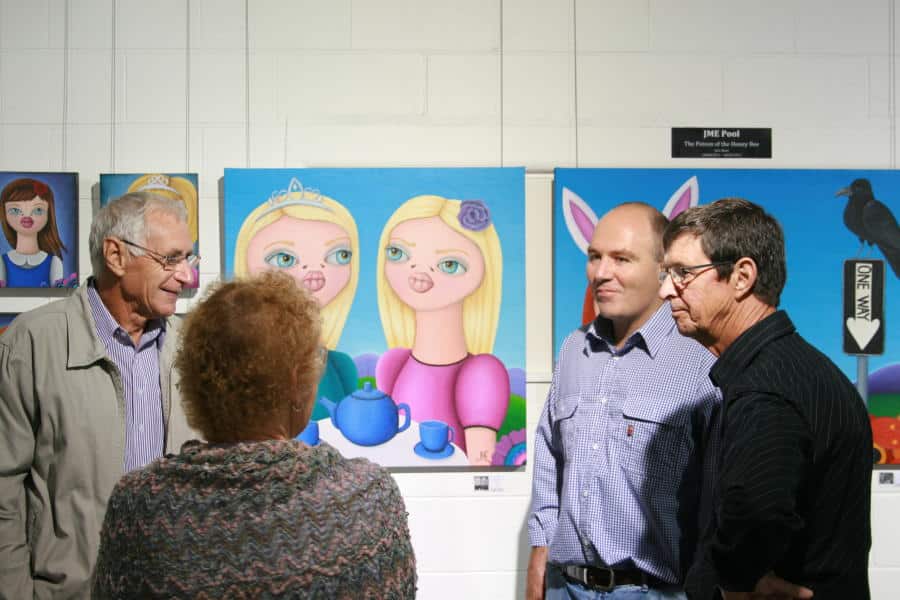
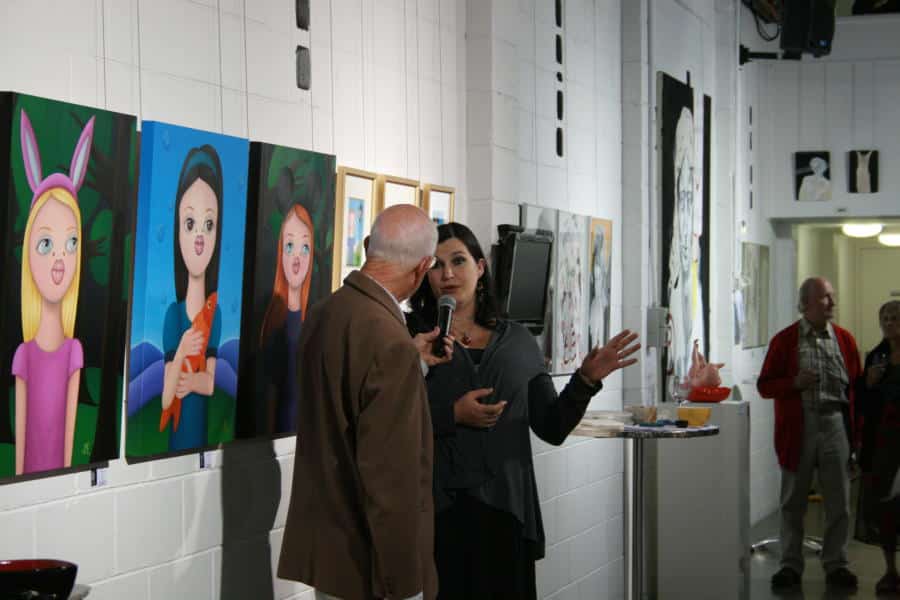
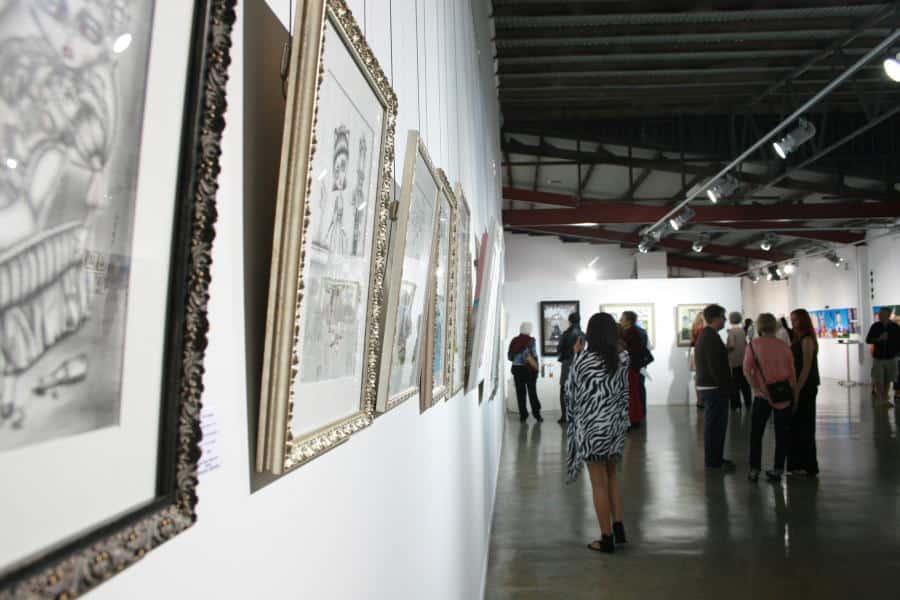
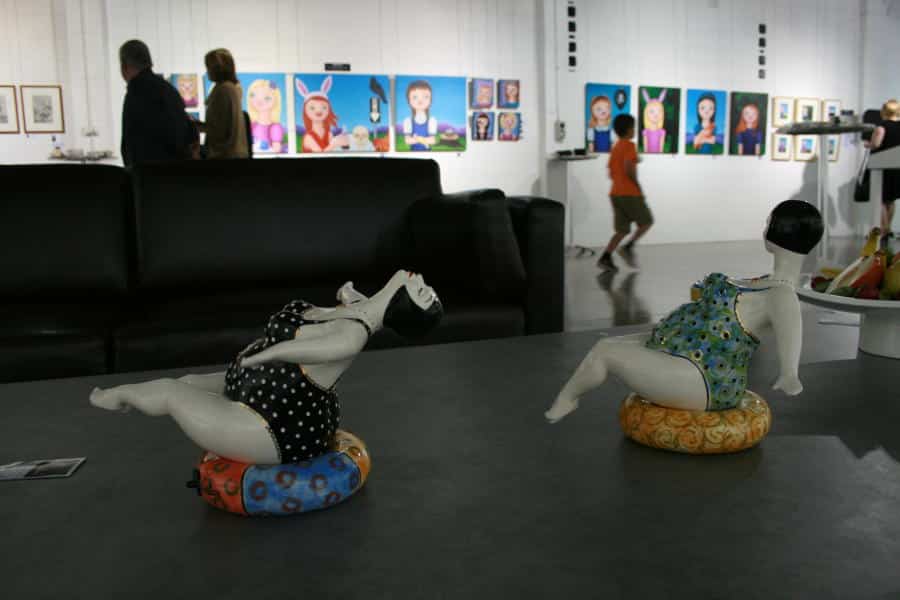
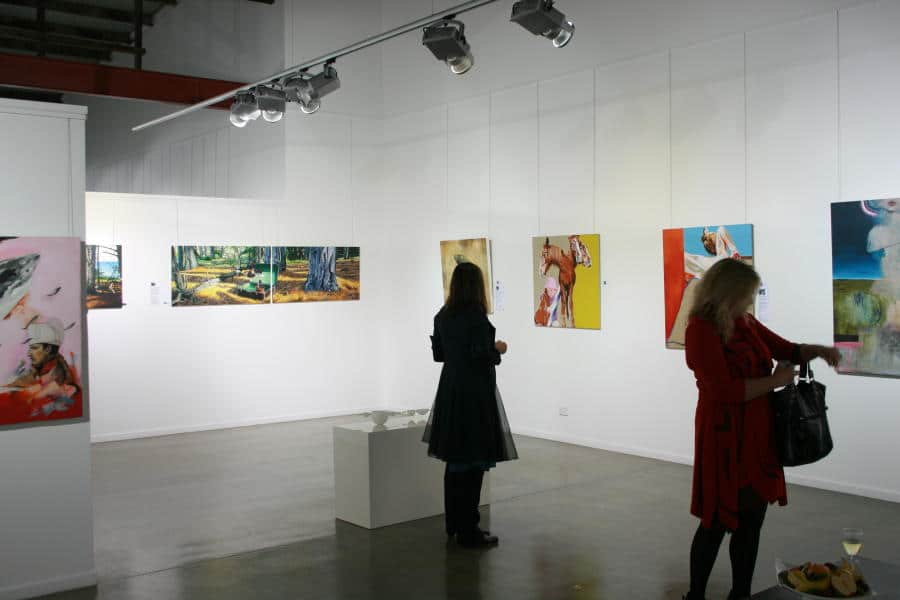
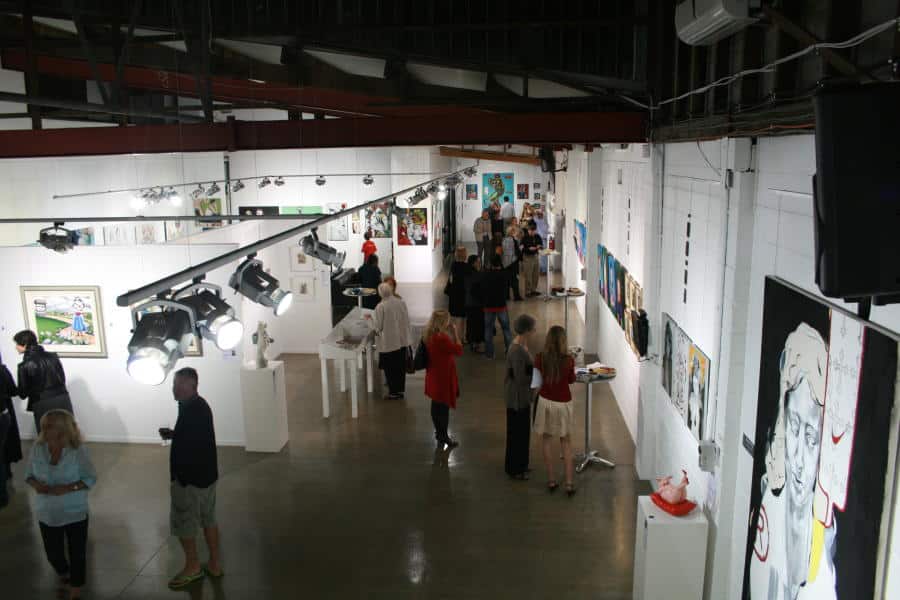
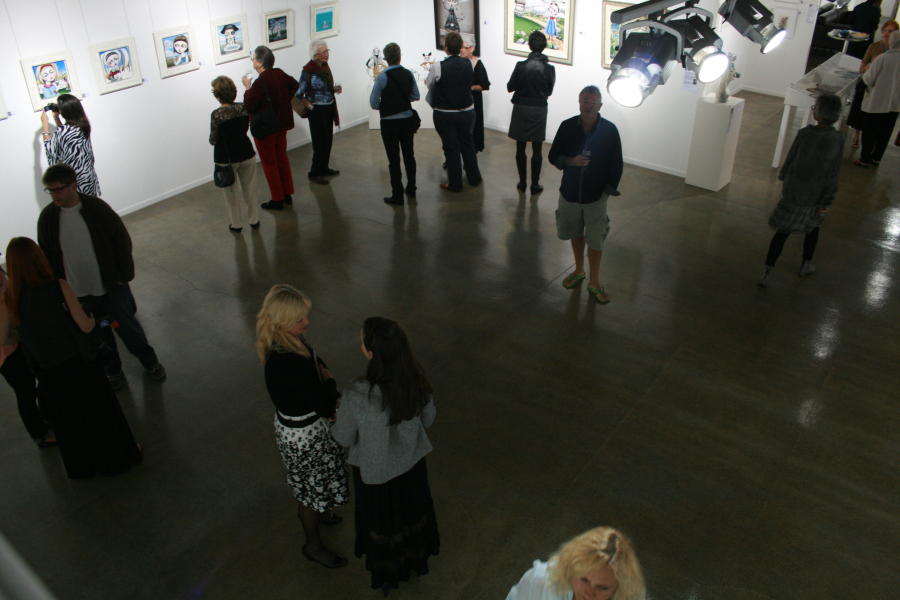
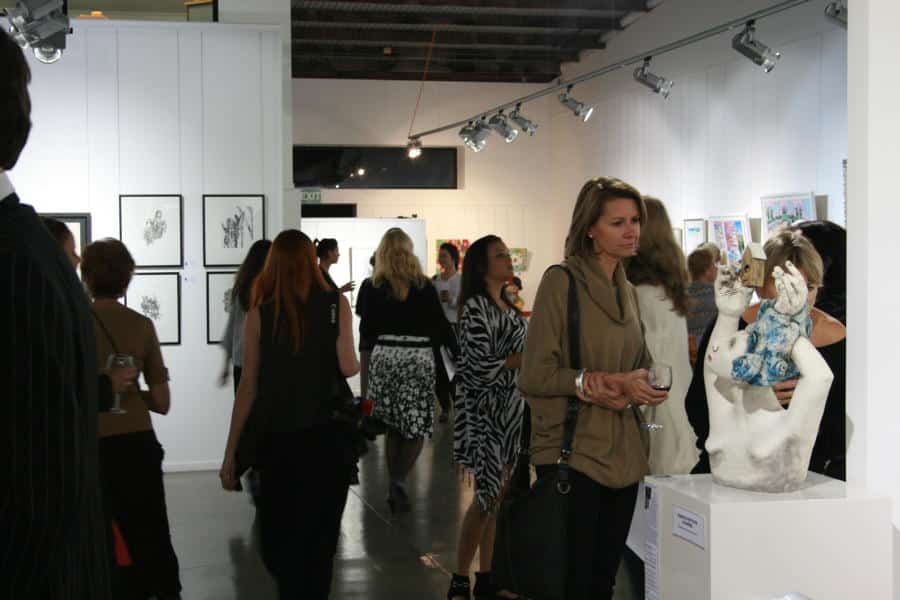
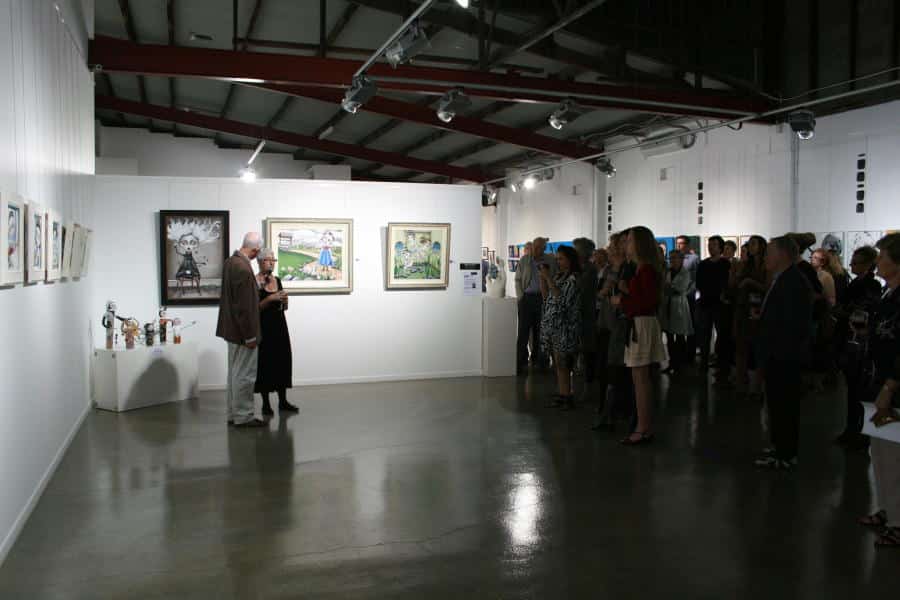
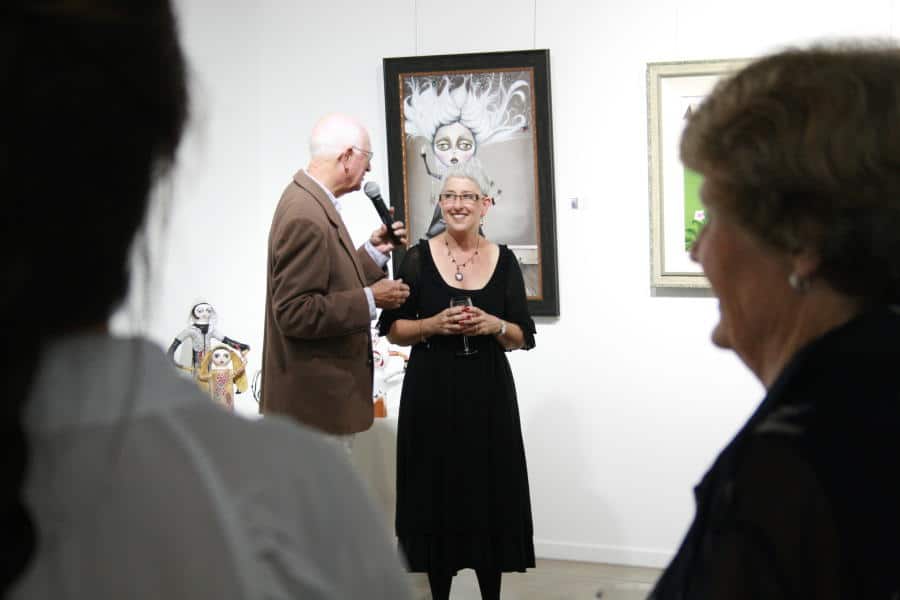
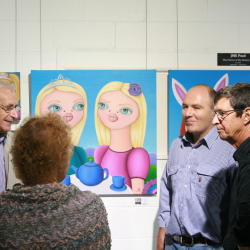
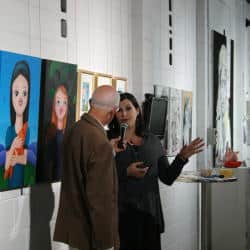
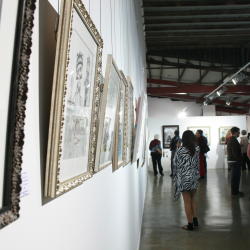
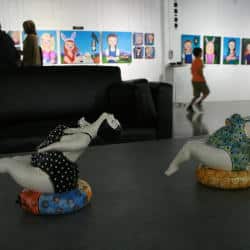
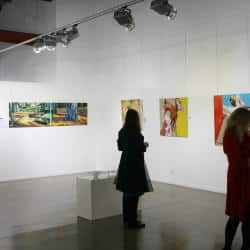
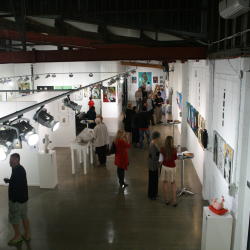
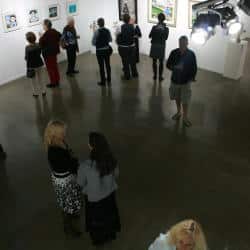
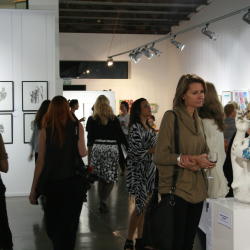
Solo shows by Jeremy Piert, JME Pool and Marie Larkin Jeremy Piert – ‘Saints to $saints’ JME Pool – ‘The Poison of the Honey Bee’ Marie Larkin – ‘Rhyme and Reason’ Photography: Shae Turnor and James Snee